Don’t blame me for the early sharing of Christmas DIY’s. For the past two weeks my ‘DIY – Fabric Crackers‘ have been the most searched for post.
I’ve had this DIY – Decorated Crackers in my drafts for two years. And thought let’s start early (is this too early?) with this fun Christmas DIY.
Let me give you some background to this DIY. I started decorating my Christmas Crackers when we started hosting Christmas about 9 or so years ago. There were always an odd amount left in the box from the year before. Instead of buying new crackers, I covered the ones I had with decorated brown paper and ribbons to match the table. It’s gone on from there.
Now there are nearly 19 of us for Christmas dinner I might need to reign it in. Filling crackers with extra treats such as lip balms, mini perfumes, pens and extra chocolate has become one of our traditions. I find this decorated cracker DIY a really easy way to make the Christmas table feel handmade, whimsical and extra special.
As soon as Christmas decor hits the shops I search for my crackers. Ideally I find something fully assembled (hats, snaps and a joke). Pattern wise I want something simple which can be customised and ideally recyclable.
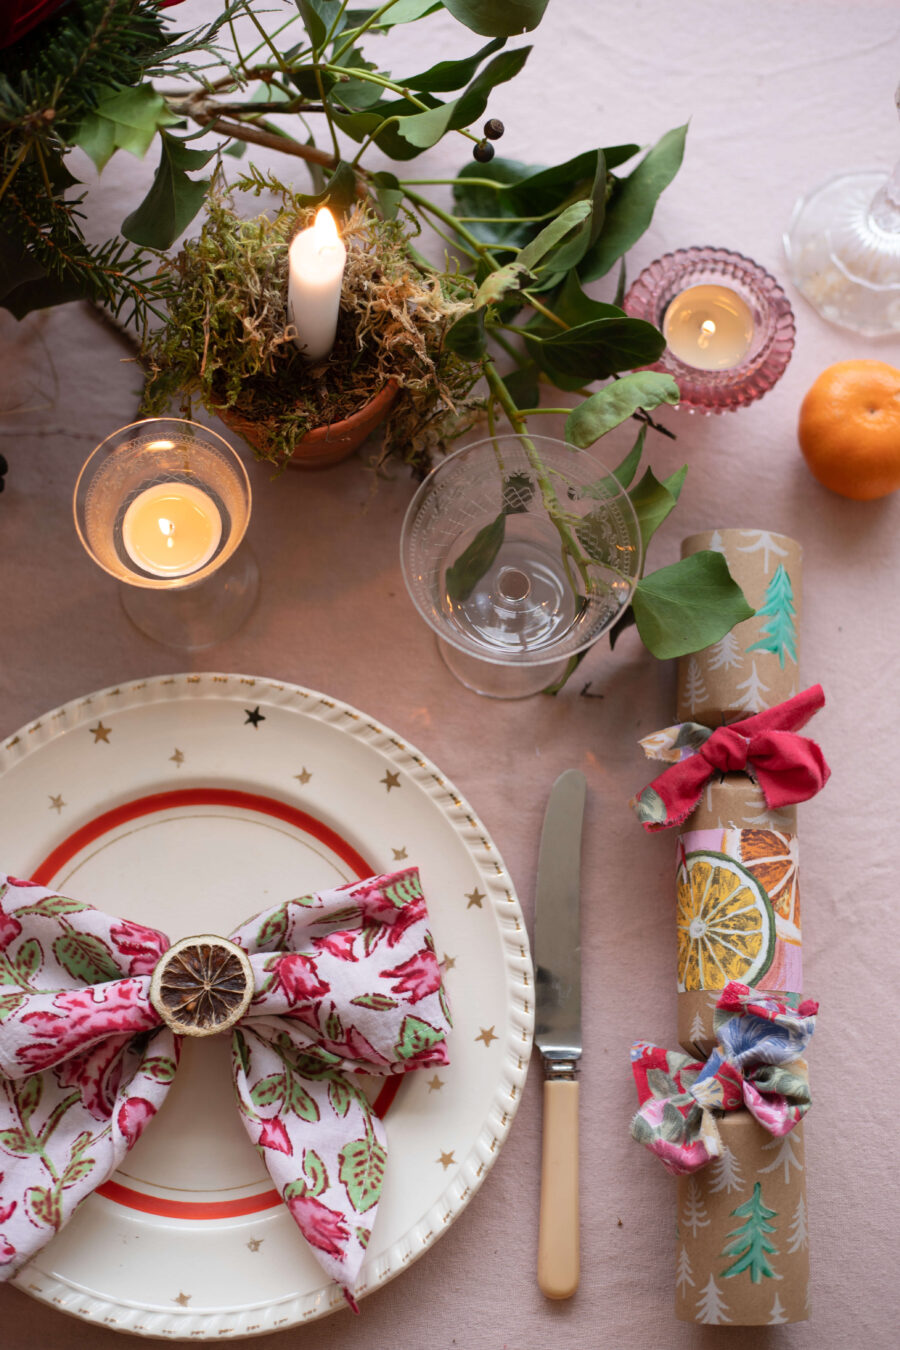
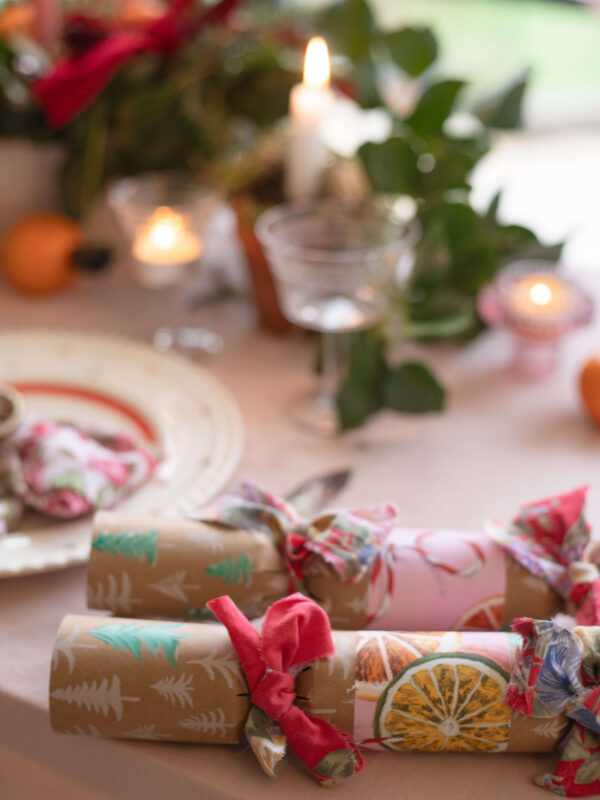
I found these kraft paper crackers with white pattern in Home Bargains (I was taking a speeding course in a nearby hotel!). Going with the tree theme I painted over some of the white trees with green acrylic paint. You can buy plain crackers which you assemble and decorate yourself. I’ve found white and kraft paper versions on Ebay.
My cracker budget is fairly modest so I seek out the dingiest places to buy my crackers. You really don’t need them to be too fancy, as lets be honest they get thrown in the bin.
You just need the base layer to work with other colours. Anything with a foil finish will be hard to paint over but can add an early layer of sparkle. Crackers with a brown/papery finish can easily be painted over and customised.It really depends on your level of crafting skill and confidence. Painting stripes/dots/stars has got me through many a crafty squeeze!
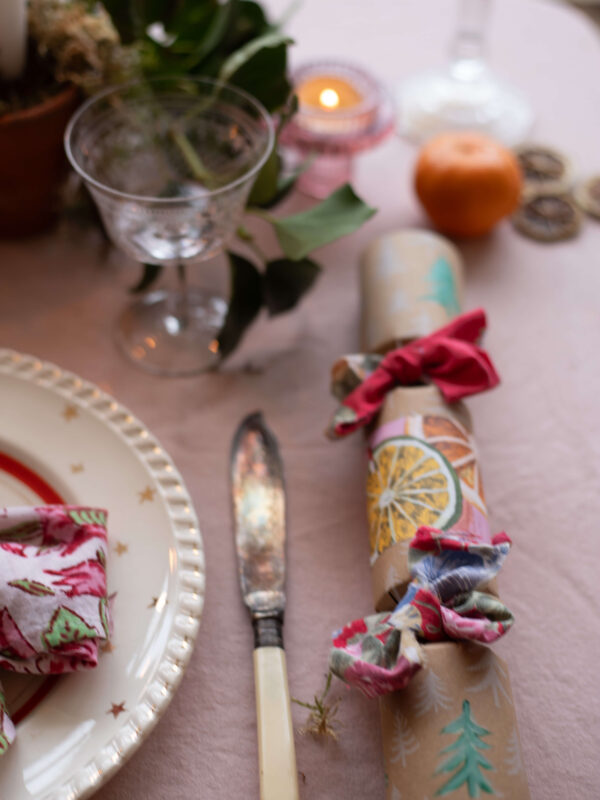
To decorate, I cut/tore strips of ‘nice’ Christmas paper and wrapped around the centre fixing with either double sided tape or a glue stick. Other Letters is a local shop to me but one of the best there is for party supplies. Take a look at their Christmas wrapping department for gorgeous fancy papers.
Buying really nice papers is a great way to support local shops during Christmas. I always try to buy one or two nice new decorations or wrapping papers for my collection. Even if I can’t always afford a whole shops’ worth, a little can still go a long way.
The width of the decorative paper will very much depend on the size of the cracker. I like to leave about 1.5cm either side of the ‘pull’. From here I carefully snip the string which secures the pull part. I’m calling the dip bit in the middle ‘the pull’ as I don’t know its official name. Once the crackers are open they are filled with treats. Make sure everything fits in with a bit of wiggle room.
To finish I cut strips of floral fabric into lengths of ribbons and tied them at either end (where the little strings once were). You can really go for it here. There is a big bag of fabric swatches in my craft room which I dip into to find fabric colours to match my table/decor theme.
Rip old shirts or dresses into ribbon strips to make them feel cosy. Ideal if you’re going for a country cottage style. Dress net is super cheap (and reusable) and adds volume and a bit of theatre (think tutu’s, it is Christmas after all!). Velvet or wide satin ribbon makes everything a bit more sumptuous.
Christmas departments are full of ribbons and twinkly bits at this time of year. You’ll be surprised where you find some unexpected treasures. Part of the fun is the treasure hunt and it’s not too early to start!
Make sure you don’t scrimp on the width of ribbon/fabric this is what makes the crackers feel sumptuous. Decorations, IMO, should feel a little ‘tipsy’!
There’s an Amazon storefront stocked with craft supplies, if you need to get your basics. If you buy anything through this shop, I receive a tiny bit of commission which goes towards writing and sharing tutorials.
Want more inspiration? This post Handmade Christmas Decorations at Home, is full of last years Christmas ideas. You can find the original DIY – Fabric Cracker post here. I’ll be revisiting this one.
Happy Making! x


Comments
Did you enjoy reading my post? Please do leave a comment and let me know what you think, I love to hear from you.