If you’re looking for a craft that sends the crowd WILD, look no further than these DIY Liberty Print tassels. I taught how to make fabric tassels at my latest ‘Quickie’ workshop and it sent a few into a tassel tizz! They are easy to make and become highly addictive, especially for those of us with a craft stash needing to be used up.
I love making tassels as they are easily transportable and don’t need any type of pattern. This year I’ve made them on planes, boats and beaches as well as when I’ve been sitting in front of the telly watching Strictly. The less you do the better.
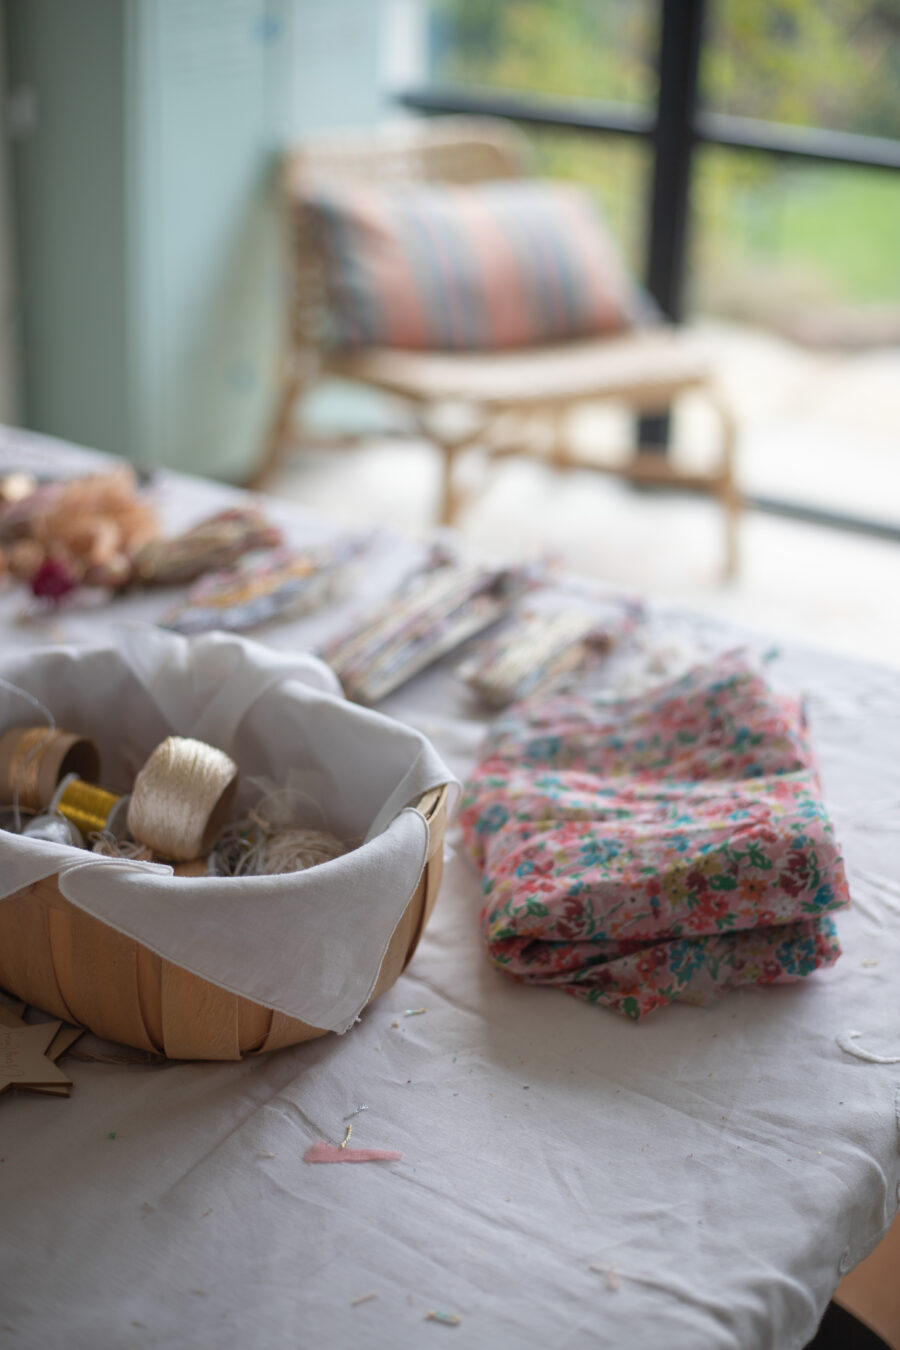
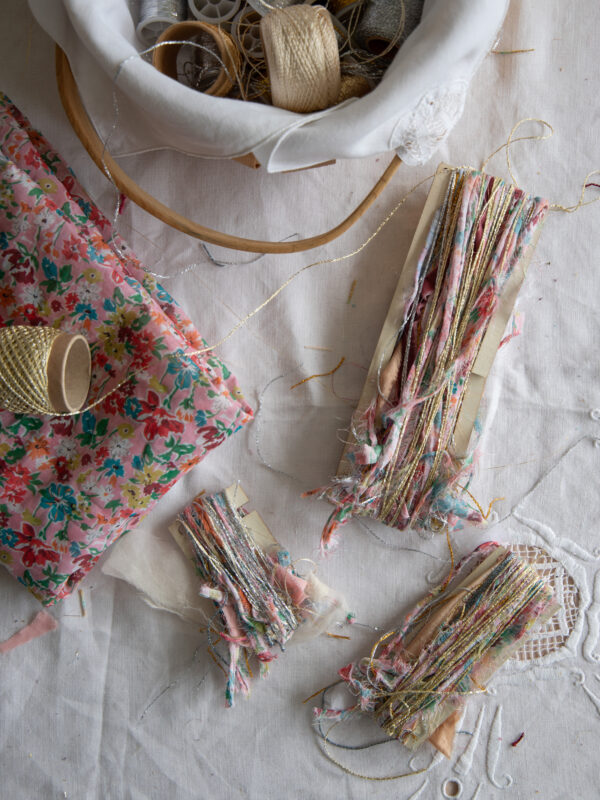
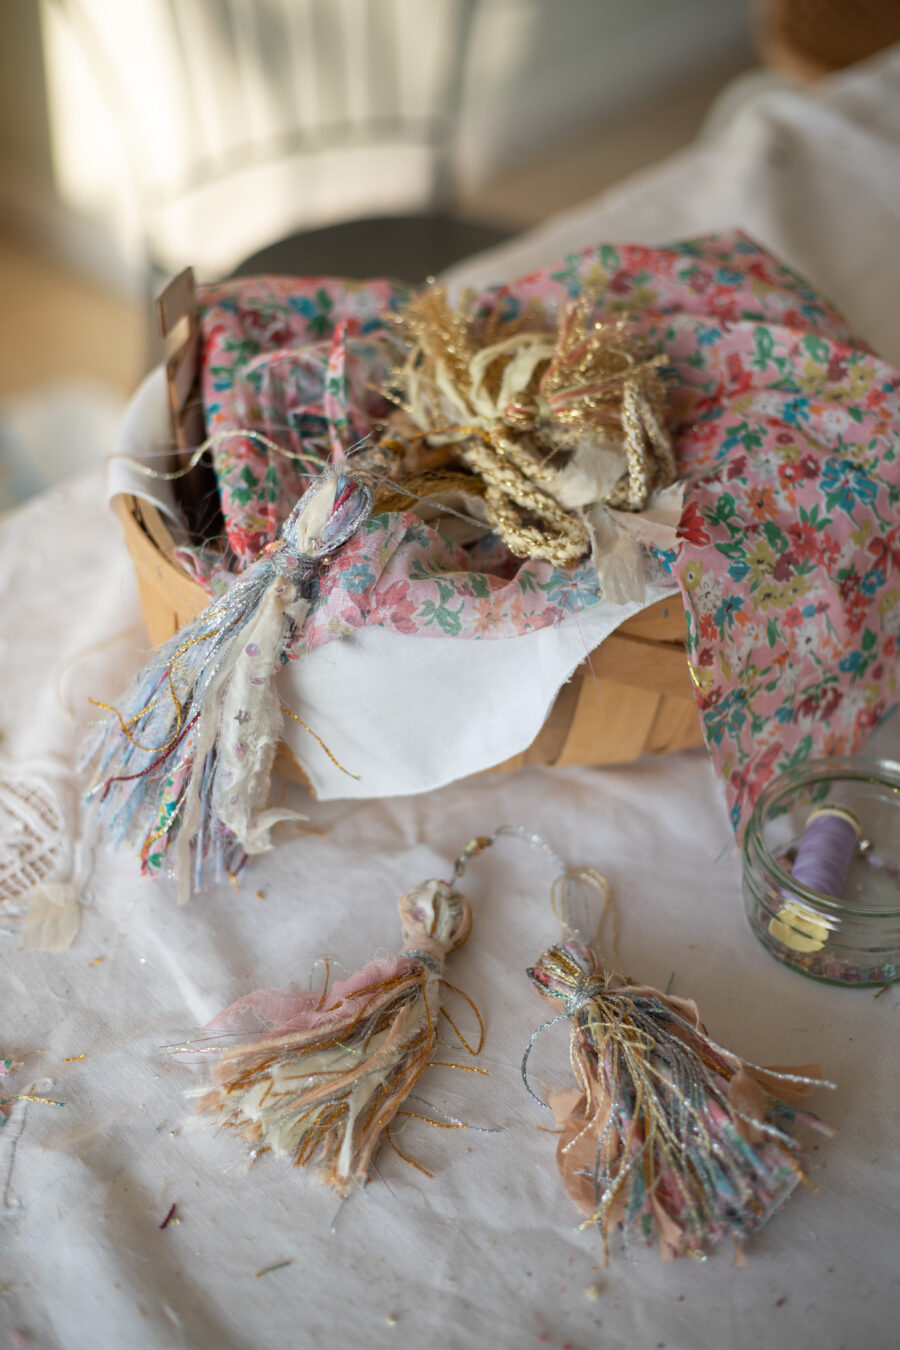
My tassels were made from a mix of materials however, they do heavily feature a beautiful Liberty Print Cotton. I’m not sure of the actual fabric type, it’s not a lawn or a dobby. It’s a very fine cotton which I found tucked away in the sale section. However any fabric whether that be a cotton, silk or man-made with a simple plain weave will work. You are looking for a fabric that can easily be ripped into thin 1cm strips.
Alongside your fabric, you’ll need a selection of fine cord and ribbon. As I was teaching this to eleven (people) I sourced some bulk bundles of gold and silver thread off the internet. Whilst putting the workshop together, I found a whole bag of different metallic treads and fine yarns at my local charity shop. There was a mix of metallics and plain colours, they looked like fine crochet yarns. The best part of the project is, you do not need loads of the same materials, these can quite happily be made using wool too. Grab a basket and shop your own stash before heading out to buy anymore.
Let’s get onto making these lovely tassels. For the workshop I gave everyone a simple tassel maker, the ones I used were dreadful and kept snapping, these look better!
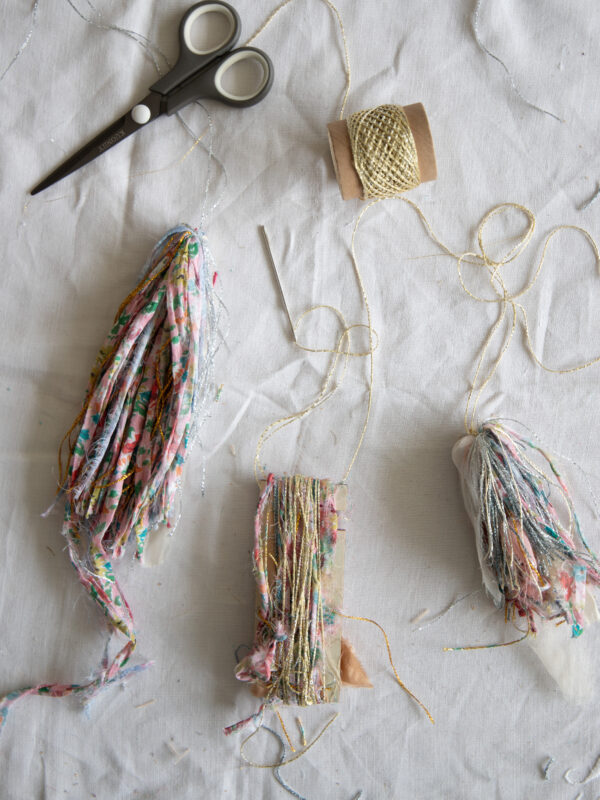
However in prep for this workshop, I made loads of tassels by simply winding my threads around a book and flower tray. As long as you can get a thread in between the layers (to secure the top) there’s no need for anything fancy. All those spare Tupperware lids floating around the cupboard would work a treat!
For this tassel tutorial you’ll need; A tassel maker or something sturdy to wind your treads around, a mix of 1cm(ish) wide fabric strips, metallic or normal fine yarn/tread, sharp scissors and a big needle. You can also add sequins, beads, bells and ribbons if you have them.
Step 1: Wrap your fabric, yarns and threads around the tassel maker. The more you add the chunkier the tassel will be. Mix the layers and textures. The first layers are hidden so I don’t put my ‘best’ materials in first, I’ll add anything ‘special’ closer to the top. Make sure all the ends, end in the same place.
Step 2: Take a length of thread and thread through the top of tassel. You want to to touch the board making sure all layers are captured. Tie a very very loose knot.
Step 3: Carefully, I mean it! Cut the bottom end of the tassel, the end where all the ends meet. Then pull the knot at the top really tight to secure all the treads.
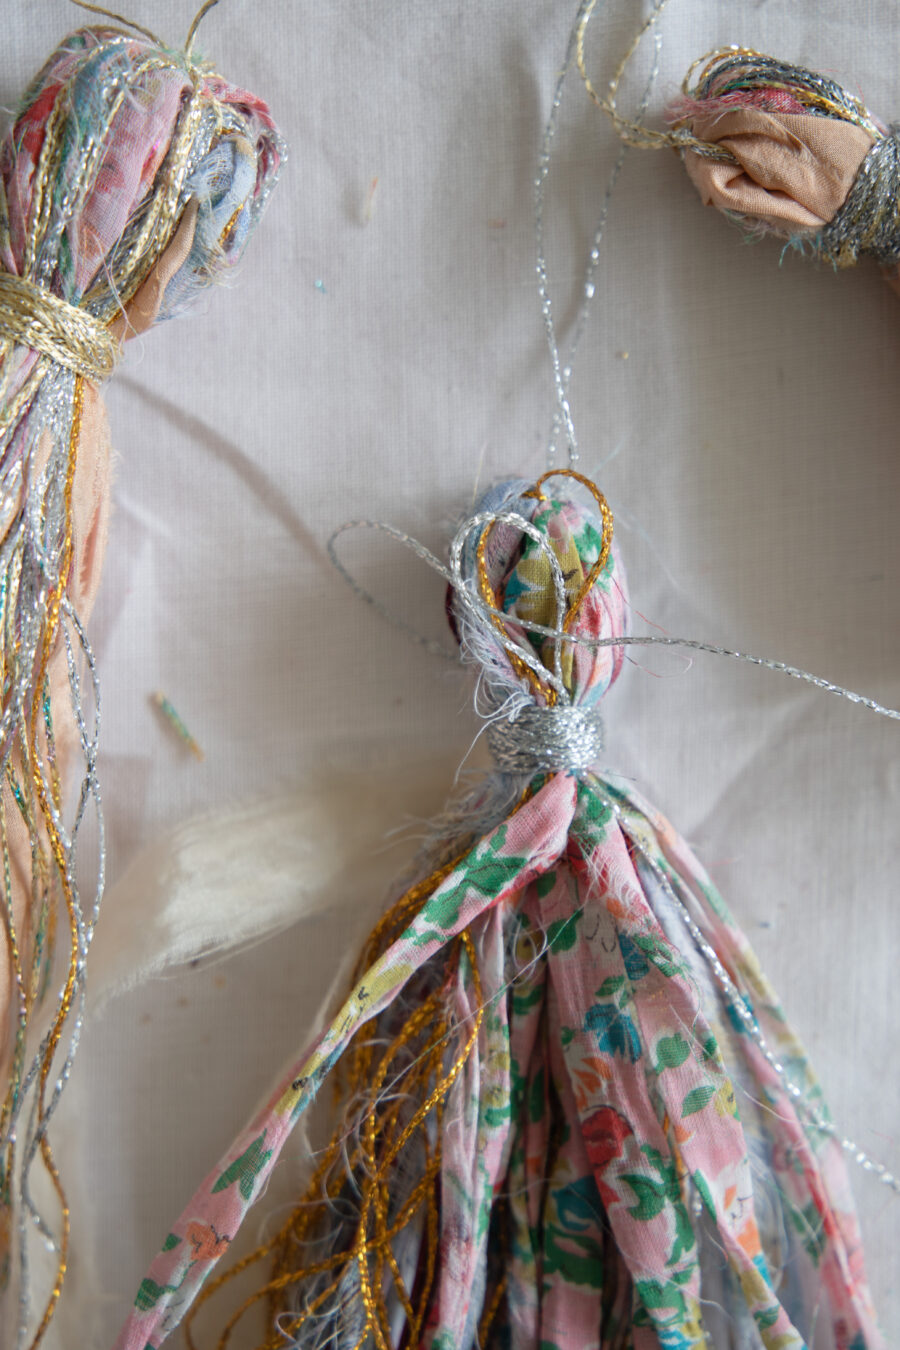
Step 4: Take another piece of long-ish thread and make an invisible knot. You can find an example here on my ‘Tassels Pinterest board‘. If that’s too faffy. Wind a length of thread around the top ten or so times, knot to secure.
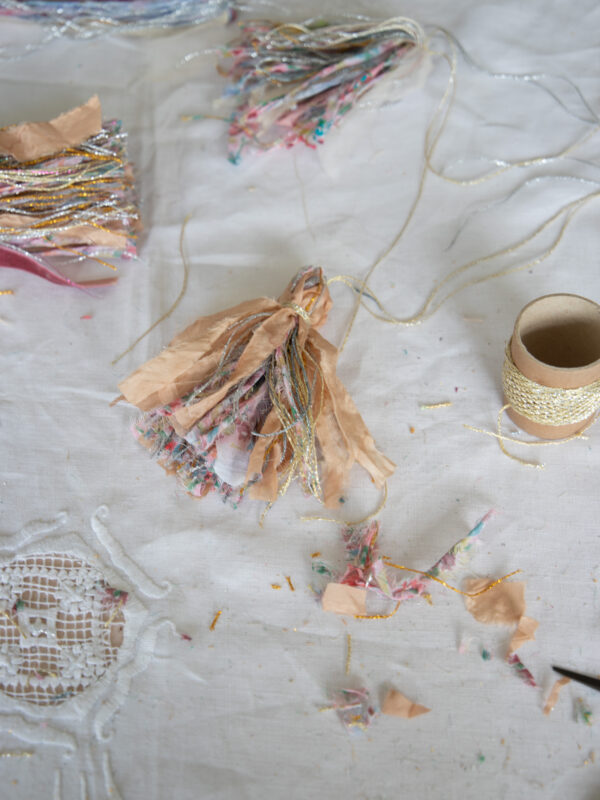
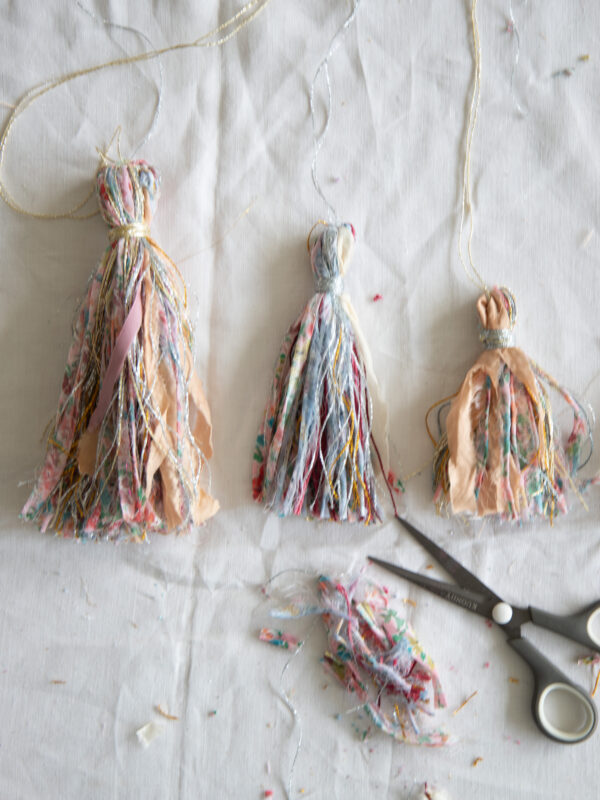
Step 5 : Trim off the ends so everything is nice and straight. Hint! Keep hold of those scraps as I have another DIY coming. You can stop here if that’s enough. Give your tassel a little fluff to finish.
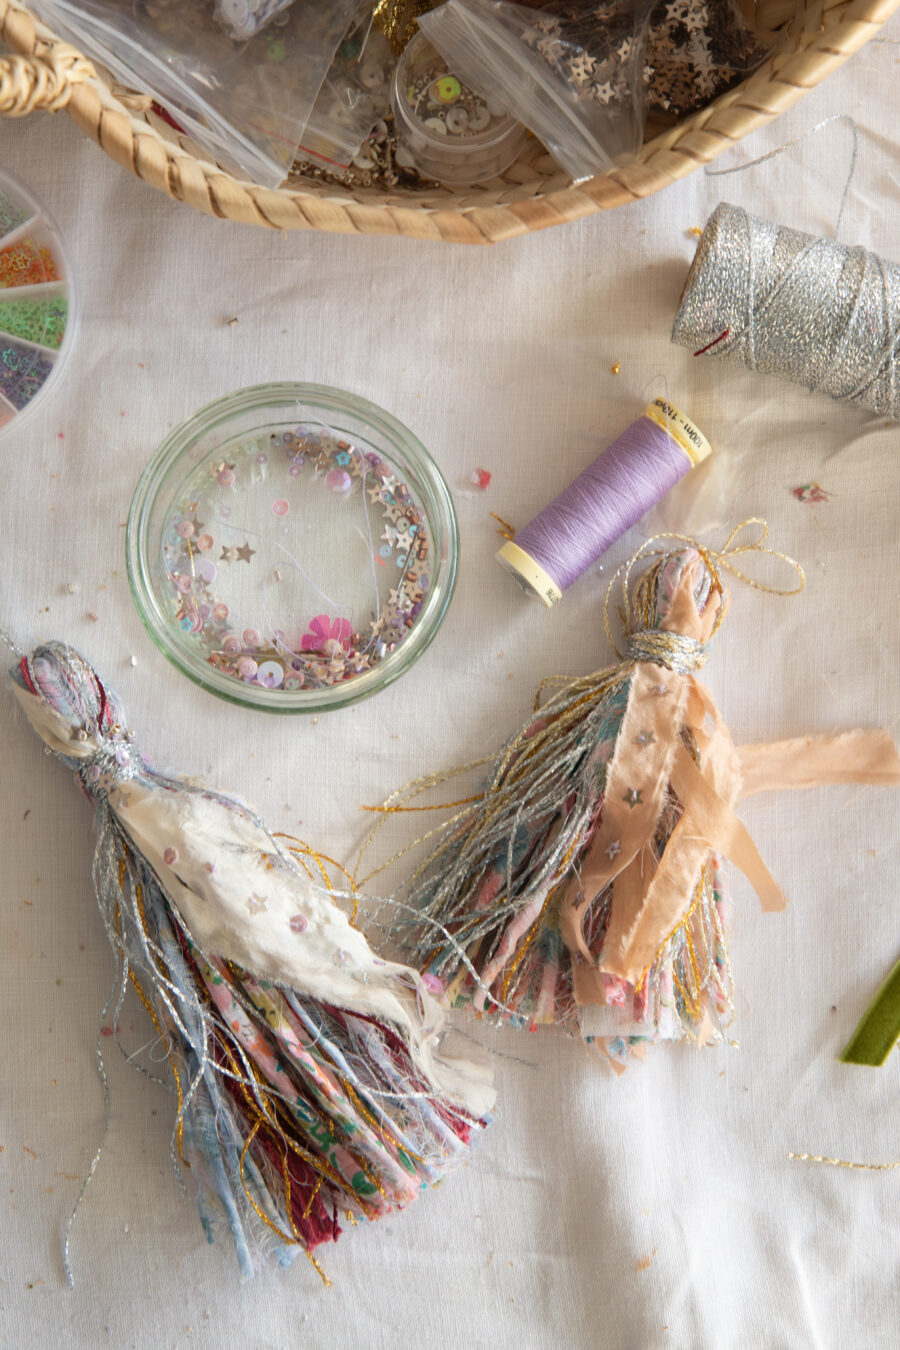
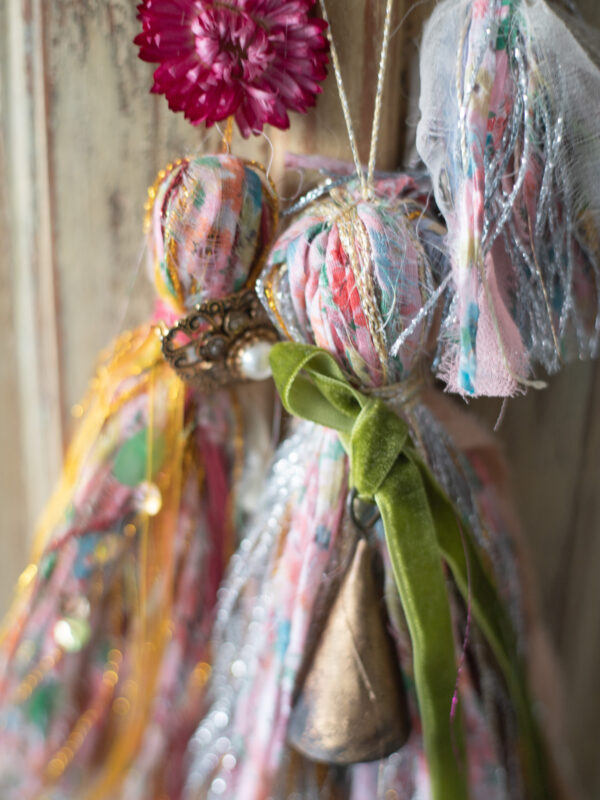
Step 6 : Add some sparkle. I like to add a few sequins to the top and a few stitched onto the fabric in the main body.
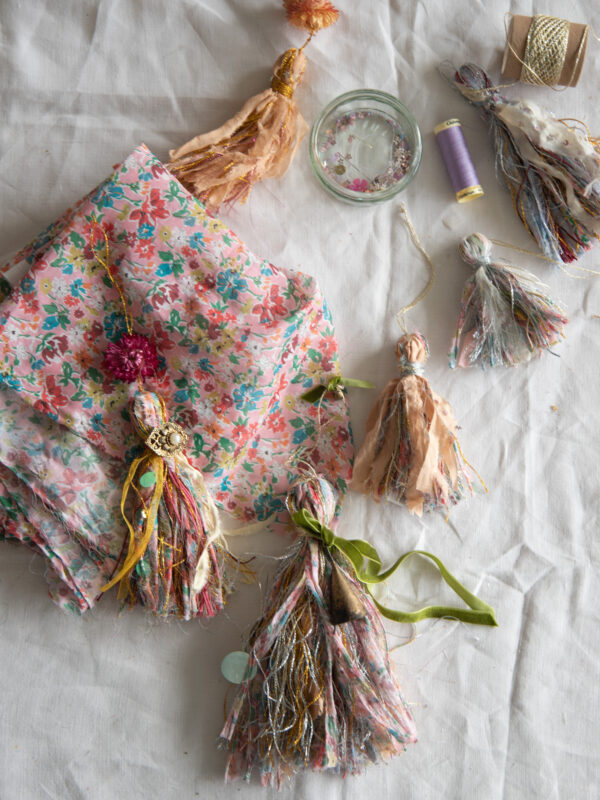
That’s it, I promise these Liberty print (or any other print) fabric tassels make a wonderful craft. With Christmas approaching these would look super attached to presents, like I have done here with my Musu Furoshiki Wrapping. If you need some wrapping tips my Ultimate Gift Wrapping Guide will take you through every step, add your tassels at the end.
I’ve linked products and ideas in my Amazon Shop . It’s part of their affiliate program meaning I might make a small amount of commission if you buy anything. So far I’ve earnt nothing!! But I remain hopeful. As a small creator this was the only platform that would have me and it’s really easy to use. All proceeds go back into my business meaning I can keep writing and sharing simple ways to live seasonally, creatively and beautifully. Thanks in advance for your support. Lotts x


Comments
Did you enjoy reading my post? Please do leave a comment and let me know what you think, I love to hear from you.