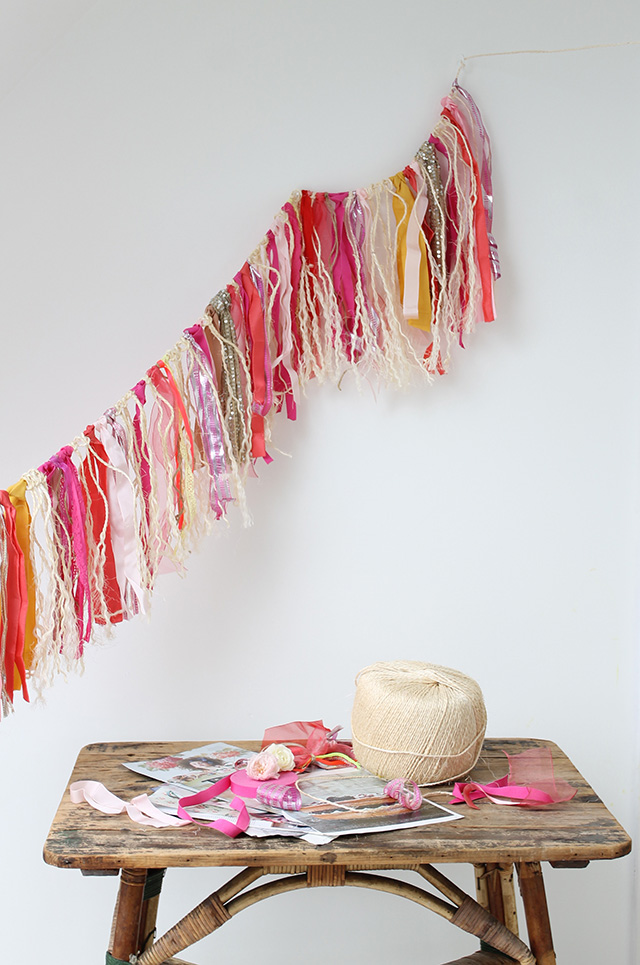
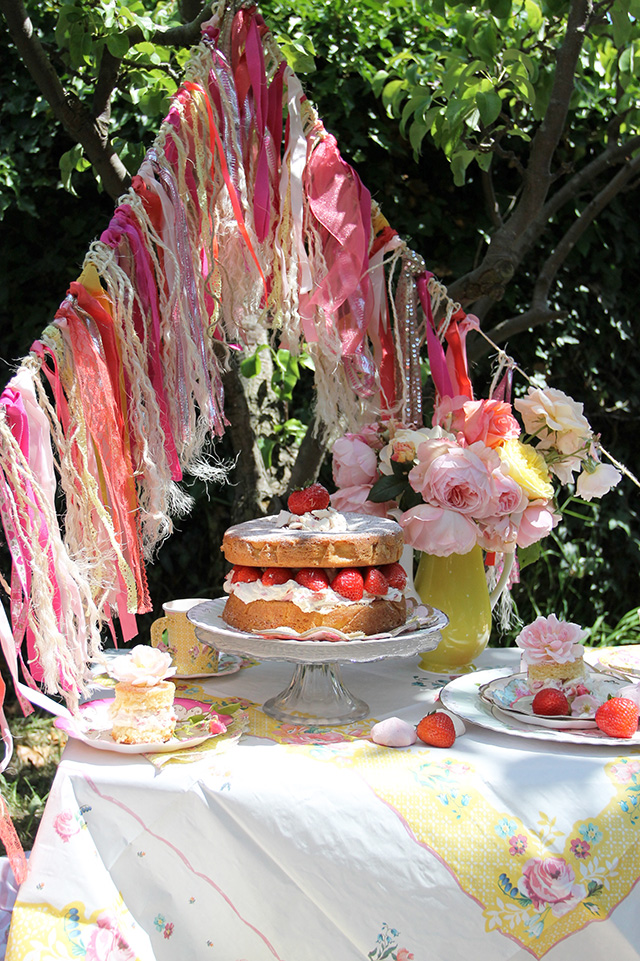
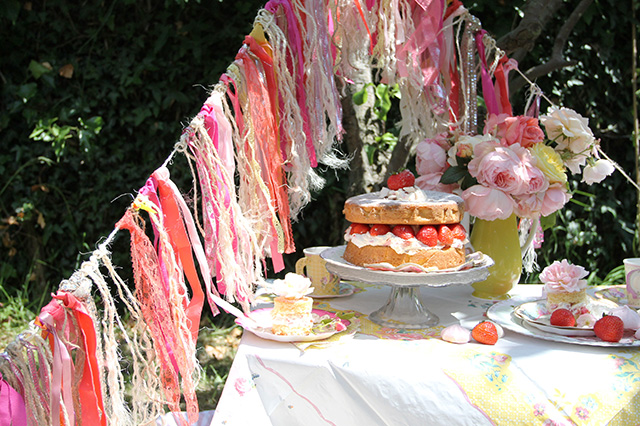
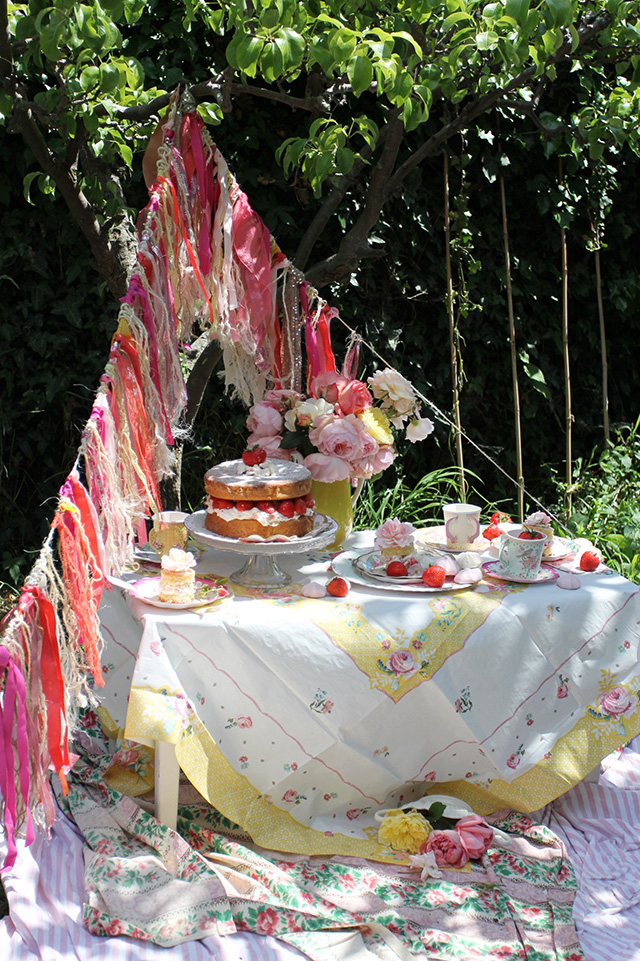
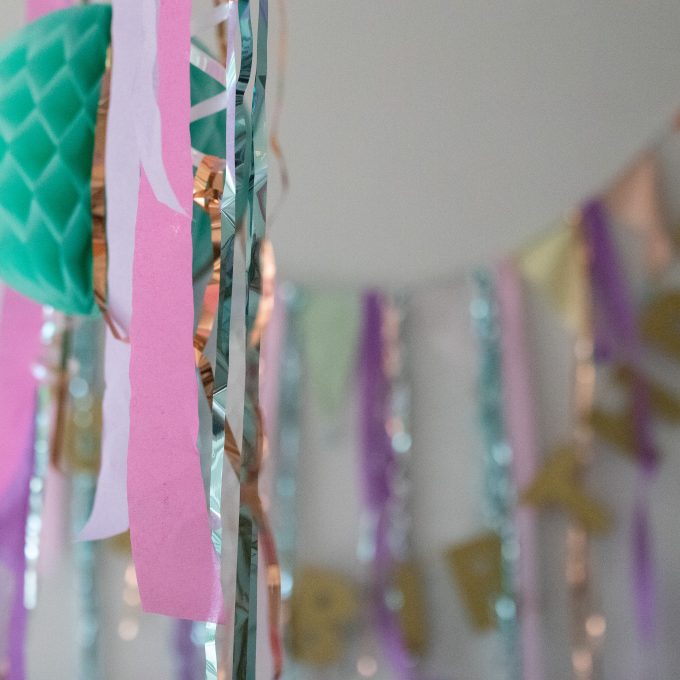
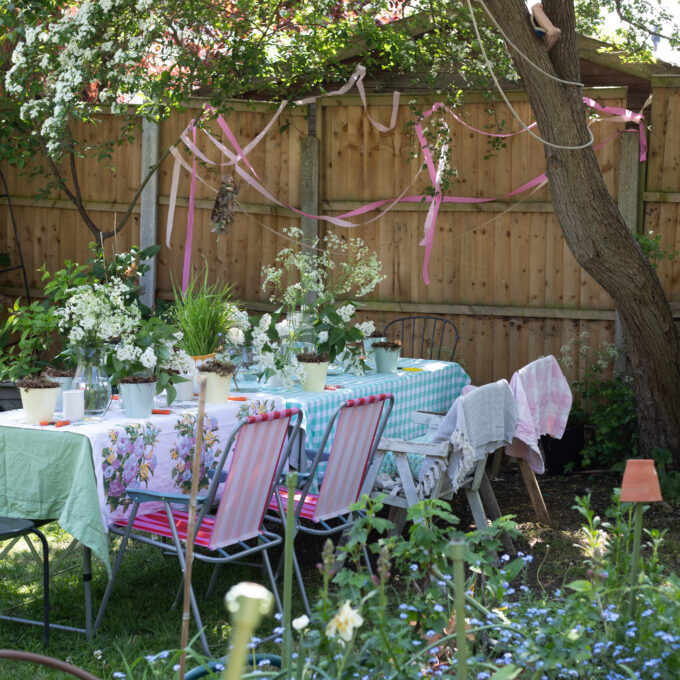
Time for another instalment of my Summer Table – let’s make! This ribbon and cord tassel garland really pulled all the elements of the table together and I’m happy to report it wasn’t hard to do. I started making it one afternoon whilst my babes were pottering in my craft room not with the intention of using it for the table but when I started gathering all the details, it just worked. I’ve written over the last year or so about using up my craft supplies and this project really used up my ribbon stash and started to make a dent a ball of string that I acquired from an old work colleague (thanks Carmen!). Before buying new materials I really encourage you to look at your supplies, is there fabric that could be turned into ribbon or something you’ve been saving for best that really needs it’s chance to shine? The time to use it all is right now! All the steps are below, happy making!

You’ll need
Cord or string and lots of different colour ribbons. I’ve had this thick string for a while but a 6mm natural macrame cord would also work.
Step 1
Cut a long length of cord/string for your base. Mine was about 5m long (the final length was about two metres), the length will be determined with where you can attach the ends to create a taught length to fix the ribbons too. Tie each end of the string to a fixed point so that the cord can be held tight when you add the ribbons. I attached mine to hooks on either side of my craft room but tying between two chair backs or fixing to a door handle and chair could work too.
Step 2
Cut lengths of coloured ribbon approx.50 – 60cm long – don’t worry if they are not exactly the same length as you’ll be giving everything a trim up at the end. I choose a warm colour palette of pinks and yellows, mixing as many different textures of ribbons as I could. Fold your ribbon lengths in half, place either behind or in front of the main cord, tuck the ends through the loop, pull tight-ish over the main cord to hold in place. Keep going until you have filled about two metres of cord covered leaving space for the neutral cord (this final length will depend on where you are hanging the garland).

Step 3
Cut lengths of cord approx 50 – 60cm and loop them in between the ribbons. To make it look more wild I unravelled the cord at the ends.

Step 4
Trim so all the ribbons and cords are the same length. Hang and enjoy!

Comments
Did you enjoy reading my post? Please do leave a comment and let me know what you think, I love to hear from you.